I belong to a group on Facebook called Vegetarian Sheepskin, which is a strange name for felt pelts, but there are lots of variations on what to call these felt-backed fleeces. Recently there have been a few posts about a way to felt the locks using some type of grid. I thought I would give it a try. So I ordered some plastic poultry fencing with 3/5" openings. It's stiff plastic. I would try a more flexible plastic next time. Some of the posters say they have left the grid in the finished piece for reasons that will become clear later in this post.

This photo shows a small sample of washed TeeswaterX locks that have been threaded through the grid openings. It's a tedious job threading the locks. I like to have 3/4" of the cut end coming through the grid. Of course as you get farther along, the locks catch on each other and it gets tedious trying to keep the cut ends at an even length across.
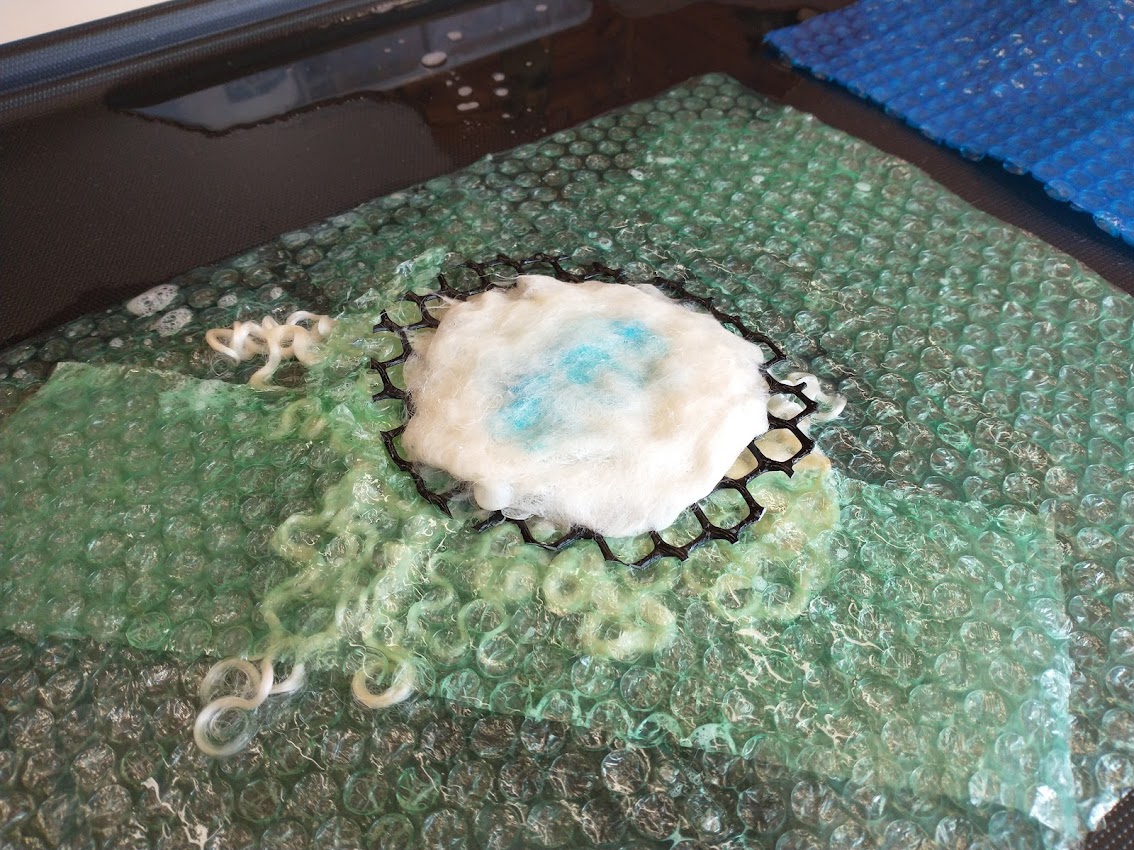
To safeguard these long locks from felting together, I placed a piece of
bubble wrap under the grid and over the locks that were hanging out to
one side.


Then I covered with netting and applied water. This is the wetted down sample.
To begin the felting process, I gently rubbed with a flat palm in a circular motion for a few minutes with the wool protected by netting.

After a skin had developed with the gentle rubbing, I removed the netting and applied a piece of solar pool cover (any bubble wrap will do, but solar pool cover is more rigid so it works faster). Again I rubbed in a circular motion with flat palms, but with much more force than before. I did this for a few minutes, maybe five. It didn't take long to felt those cut ends into the roving.

Then came the tricky part, removing the locks from the grid. I found that removing the grid was easiest to do with washed locks or short locks. I also did this experiment with long raw Lincoln locks and actually had to CUT the plastic apart to free up the wool! I got so caught up in it I neglected to take photos. Sorry! Anyway, suffice it to say, carefully and gently work the plastic grid down the length of the locks to remove it without pulling the locks away from the felted backing.
Then dip the piece in warm soapy water and work the felt by squeezing and rubbing until it's firm. Then dip and lift the piece in and out of the water until the locks are clean. Rinse, roll in a towel and set aside to dry.
The
photo below shows my attempts at this. Left to right: raw short-stapled
Gotland locks; and that same Gotland but threaded through the grid AND a
pre-felt backing to limit the movement of the locks from the grid; long
raw Linclon locks; and the washed Teeswater locks shown in the process photos above.

In my opinion, this method is not worth the extra effort. I just did small samples, there's no way I would want to do a chair pad with this method. One could easily just felt the locks without the grid and if that's too hard, needle felting them to a pre-felt backing and then wet felting is more efficient in my opinion.
I have seen another version of creating larger pieces where wooden slats were placed in a vice and locks laid across the slat with the cut end protruding, then another slat and more locks, repeating to the desired size and tightening the vice to hold everything in place while the back was felted. Then the slats were removed and the resulted was a thin, flexible fabric with gorgeous locks. I might try that method some day. But by using my method of nuno-felting gauze onto the back of a raw fleece, I can get a very soft flexible fleece too.
Happy felting everyone! My shearer is coming in two days and I'll have 17 more fleeces!
